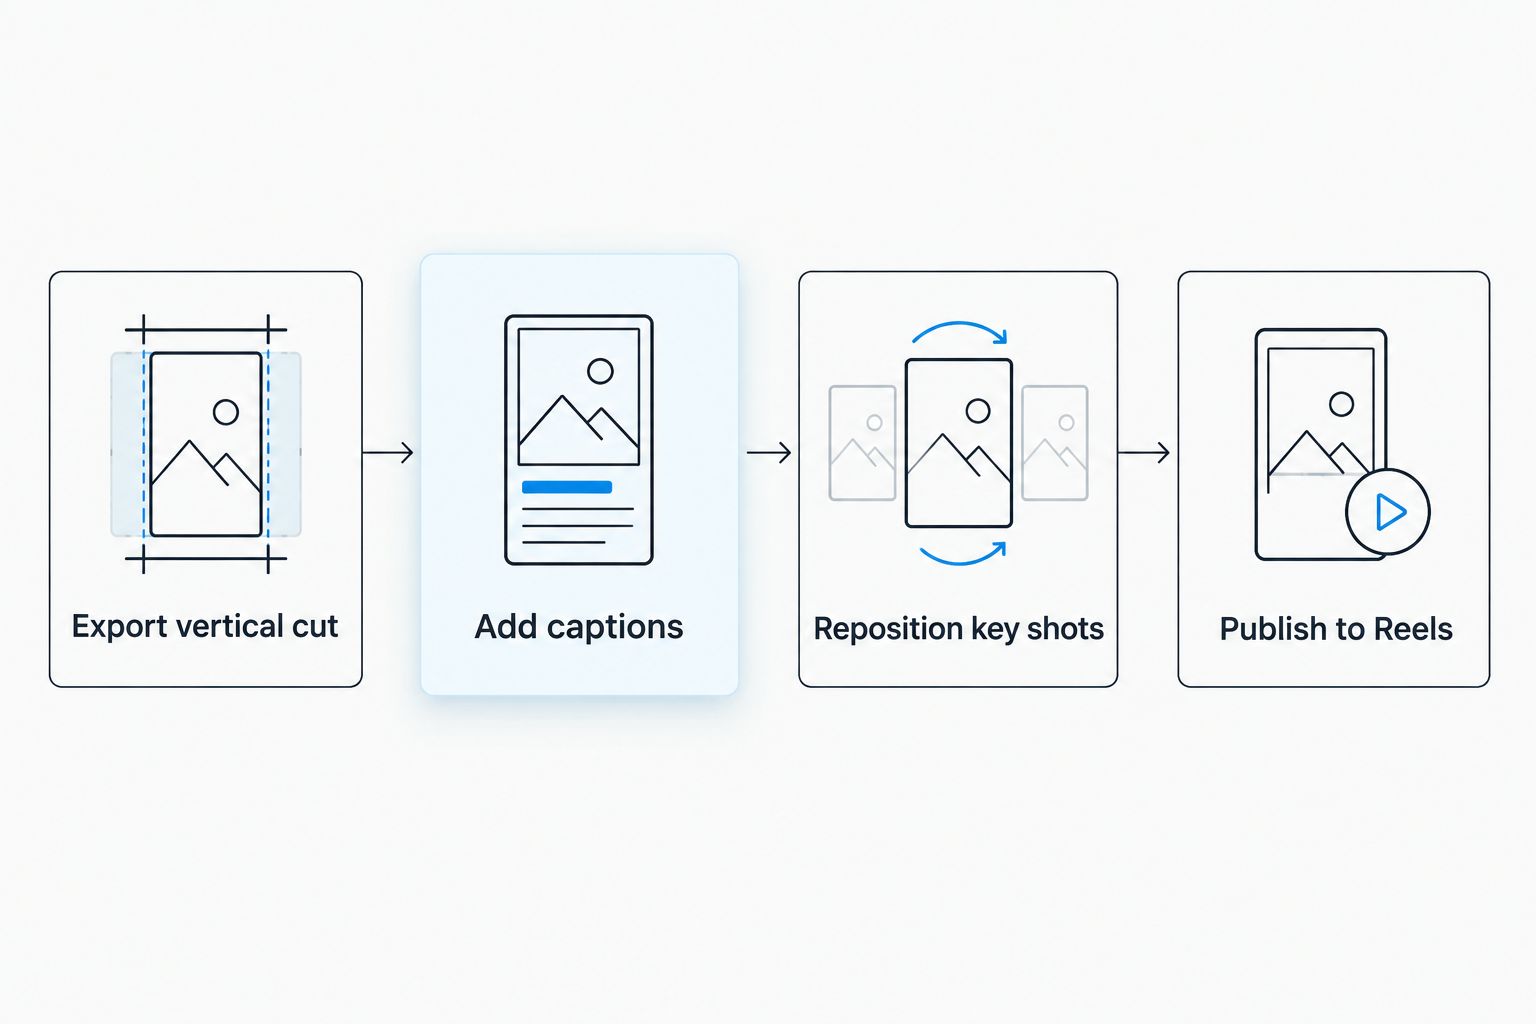
Cropping a horizontal wedding film into a vertical Reel by eye loses the ring shot, the first kiss, or half the officiant's face — the fix is a proper reframe-and-export workflow, not a quick center-crop in the Instagram app. Set up the export settings once, in your editor of choice, and every Reel you post afterward takes minutes instead of a redo.
- Export wedding highlight video to Instagram Reels at 1080x1920 (9:16) with reframed — not center-cropped — footage.
- Instagram Reels in 2026 run up to 90 seconds; your 3-5 minute highlight film needs a dedicated vertical cutdown, not the same file resized.
- Burn in captions before upload — most Reels get watched on mute.
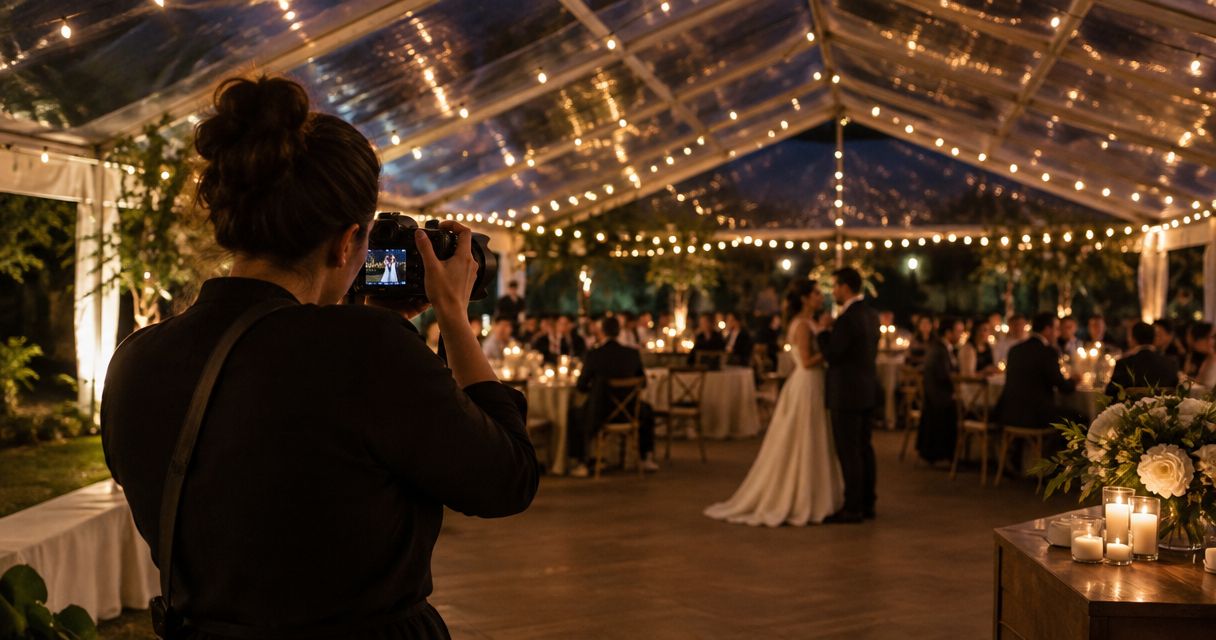
- Same-day edit footage doubles as Reel content when you export a second 9:16 version during the reception.
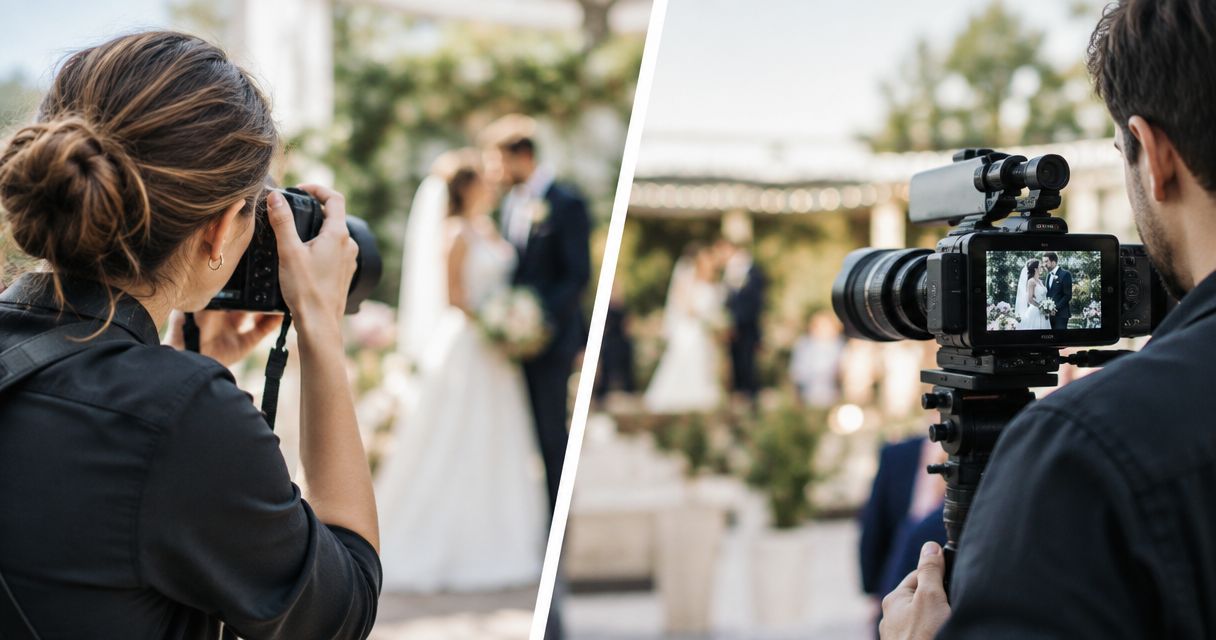
- Center-cropping a 16:9 master is the single most common mistake — it clips faces and rings at the frame edge.
Why this matters
A wedding highlight video sitting only on a hard drive or a private Vimeo link reaches the couple and maybe their parents. The same footage cut for Instagram Reels reaches the couple's full guest list, gets shared to Stories, and becomes the piece future clients actually watch before they book. Wedding videography clients in 2026 expect a shareable Reel within days of the wedding, not a full film six weeks later — that expectation is now baked into how David Suns Weddings scopes video coverage from the start.
The workflow below assumes you already have a finished or in-progress highlight edit. It's a repeatable process for turning that footage into Reels-ready vertical content, plus a second variant for engagement or save-the-date teasers using the same steps.
Before you start
- A master export in at least 1080p (4K preferred) — you need resolution headroom because reframing a 16:9 clip to 9:16 crops in on the image, and a 1080p source cropped tighter starts to look soft.
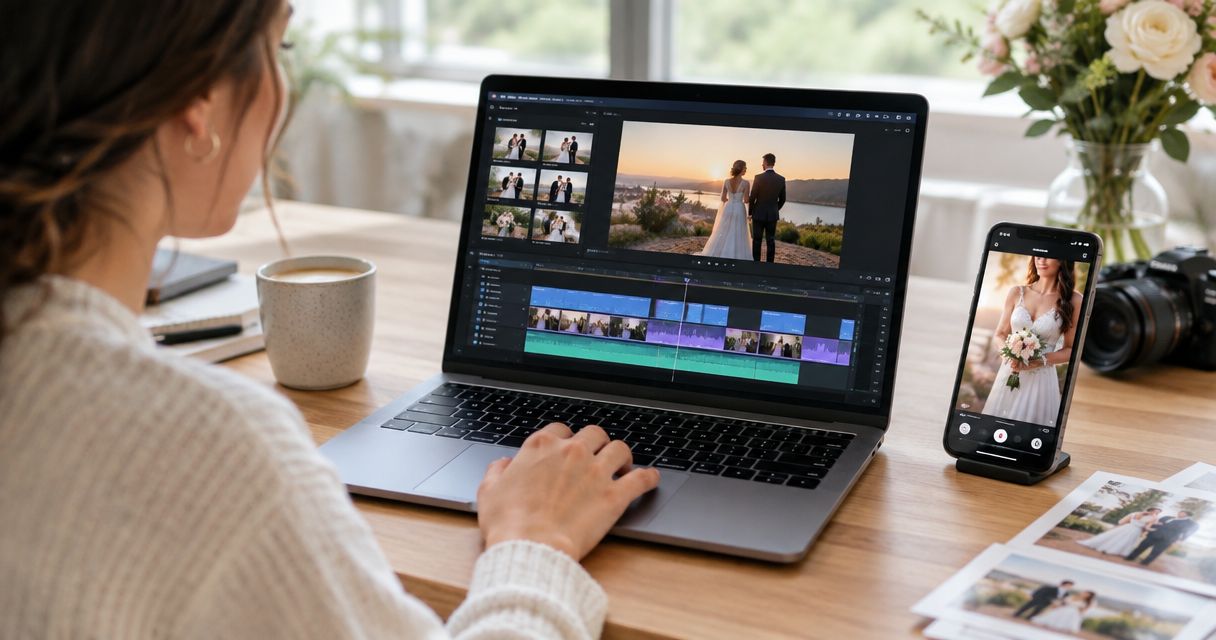
- Editing software that supports vertical sequences — Premiere Pro, Final Cut Pro, DaVinci Resolve, or CapCut all handle 9:16 timelines; a phone-only edit will not give you the reposition control the reframe step needs.
- The gotcha: don't center-crop a horizontal edit and call it done. A 16:9 frame with the couple centered often has the officiant, the ring, or a parent's reaction sitting at the far left or right edge — a straight center crop to 9:16 cuts that content off entirely. Reposition each shot individually before export.
Set up your vertical export
Duplicate the sequence, don't edit the master. Create a copy of your highlight video timeline before touching aspect ratio settings, so the original 16:9 delivery file stays intact for the couple's full film.
- In your new sequence, change the Frame Size to 1080 x 1920 (9:16). In Premiere Pro this is under Sequence Settings; in Final Cut it's the project's Format setting.
- Go clip by clip and use the Scale and Position controls (Premiere's Motion effect, or Final Cut's Transform) to recenter the subject — not just the frame — inside the vertical crop. Watch for hands, rings, and faces sitting near the horizontal edges of the original shot.
- Trim the sequence down. Instagram Reels in 2026 support clips up to 90 seconds; a 3-to-5-minute wedding highlight film needs a genuine cutdown, not a shortened version of the same cut. Pull your 3-5 strongest moments — first look, ceremony kiss, first dance — and build a new, tighter sequence rather than trimming the long edit's front and back.
- Export at 1080 x 1920, MP4 (H.264), 30fps. Confirm the export preset locks the aspect ratio to 9:16 — some presets default back to the source ratio and add letterbox bars.
Expected result: a vertical MP4 under 90 seconds where every key subject sits inside the frame with no important detail clipped at the edges.
Configure captions and safe zones
Most Reels get watched with sound off, especially on mobile scroll. Vows, toasts, and voiceover narration need burned-in captions or they don't land.
- Add a caption track inside your editor (Premiere's Captions panel, Final Cut's Titles, or an auto-caption tool inside CapCut) synced to dialogue or key audio moments.
- Keep text inside the center-safe zone — roughly the middle 80% of the vertical frame. Instagram's own UI elements (username, caption text, like/comment icons) sit along the bottom third and right edge of the screen and will cover text placed too close to those margins.
- Export with captions burned in rather than relying on Instagram's auto-generated captions, which are frequently inaccurate on names and vow language specific to the couple.
Expected result: a captioned vertical file where text stays fully readable and isn't obscured by Instagram's on-screen UI once posted.
Configure the Reels upload in Instagram
- Open the Instagram app and tap Create, then select Reel.
- Choose Upload from the camera roll rather than filming in-app, and select your exported 9:16 MP4.
- In the Reel editor, check the preview against the actual phone frame — confirm no black bars appear on the sides, which signals the export ratio wasn't locked to 9:16.
- Add a cover image pulled from a strong frame in the video (tap Edit cover), write a caption naming the venue or wedding style if relevant, and tag the couple's account before publishing.
Expected result: the Reel plays edge-to-edge on a phone screen with no bars, no cropped faces, and readable captions.
Turn the same footage into an engagement or save-the-date teaser
The reframe-and-caption steps above work identically for engagement session footage. Instead of ceremony and reception clips, pull 3-5 seconds each from a proposal reaction, a laugh between the couple, and a landscape establishing shot, then follow the same export settings. This is the standard build for a save-the-date teaser Reel, and it's worth planning during the engagement shoot itself rather than reverse-engineering it from stills later.
Plan Reels-ready coverage from day one
Book wedding video coverage built for both the full film and social cuts.
Troubleshooting
- Black bars on the sides of the Reel. The export preset reverted to the source aspect ratio. Re-export confirming Frame Size is locked at 1080 x 1920 before rendering.
- Audio drifts out of sync partway through. Usually caused by exporting at a different frame rate than the sequence was built in — match the export frame rate to the timeline setting exactly (30fps to 30fps).
- Instagram mutes or flags the audio. Licensed wedding-day music (first dance songs, processional tracks) can trigger copyright detection. Swap to Instagram's built-in music library for the Reel version, or keep the licensed track only in the private full-length delivery.
- The video looks soft or compressed after upload. Instagram re-compresses on upload regardless of source quality, but starting from a 4K master before the 9:16 crop gives more resolution headroom than starting from 1080p.
- A key moment — the ring, a parent's face — sits cut off at the frame edge. This means a clip was center-cropped instead of individually repositioned. Go back to the reframe step and adjust Position on that specific clip rather than the whole sequence.
Customize your workflow
Once the export-and-caption process is set, expand it: build a dedicated wedding video shot list during planning so the moments needed for a strong Reel — reactions, wide establishing shots, tight detail shots — get captured deliberately instead of hoped for in the edit. Couples booking same-day edit packages already get a fast-turnaround cut that reframes easily into Reels the same evening, and a cinematic wedding trailer built with wide, uncluttered compositions crops to vertical far more cleanly than a documentary-style edit with tight two-shots.
For couples planning ahead, request social media highlight reels as a deliverable at the booking stage rather than an afterthought — it changes how the day gets shot, not just how it gets edited.
FAQ
What aspect ratio does Instagram Reels use in 2026?
Instagram Reels use a 9:16 vertical aspect ratio at 1080 x 1920 resolution. A horizontal wedding film needs a dedicated vertical export, not a resized copy of the original file.
How long can a wedding highlight video be on Instagram Reels?
Reels support clips up to 90 seconds as of 2026. A typical 3-to-5-minute wedding highlight film needs a separate cutdown built specifically for that length, not a trimmed version of the full edit.
Can I just crop my wedding video to fit Instagram Reels?
A straight center crop from 16:9 to 9:16 frequently cuts off faces, rings, and reactions sitting near the frame edges. Reposition each clip individually instead of applying one blanket crop to the whole sequence.
Should I add captions to a wedding Reel?
Yes — most Reels are watched with sound off, so vows, toasts, and narration need burned-in captions to land. Keep text inside the center-safe zone so Instagram's own UI elements don't cover it.
Why did Instagram mute the music on my wedding Reel?
Licensed songs used during the ceremony or first dance often trigger copyright detection on upload. Use Instagram's built-in music library for the Reel version and keep the licensed track only in the private full-length delivery.
What resolution should my wedding video master be before exporting to Reels?
Start from at least 1080p, ideally a 4K master. Cropping in to a vertical frame reduces the effective resolution, so starting higher keeps the Reel looking sharp after Instagram's upload compression.
Can engagement footage be turned into an Instagram Reel the same way?
Yes — the same reframe, caption, and export steps apply to engagement or save-the-date footage, using 3-5 short clips instead of full ceremony and reception moments.
One last thing
The couples who get the most shares aren't the ones with the fanciest venue — they're the ones whose videographer planned for the vertical crop before the wedding day, framing wide shots with edge room instead of tight symmetric two-shots that fall apart the moment they're cropped to 9:16. Build that into the shot list, not the edit bay, and the Reels workflow above turns into a five-minute task instead of a reshoot in your head.