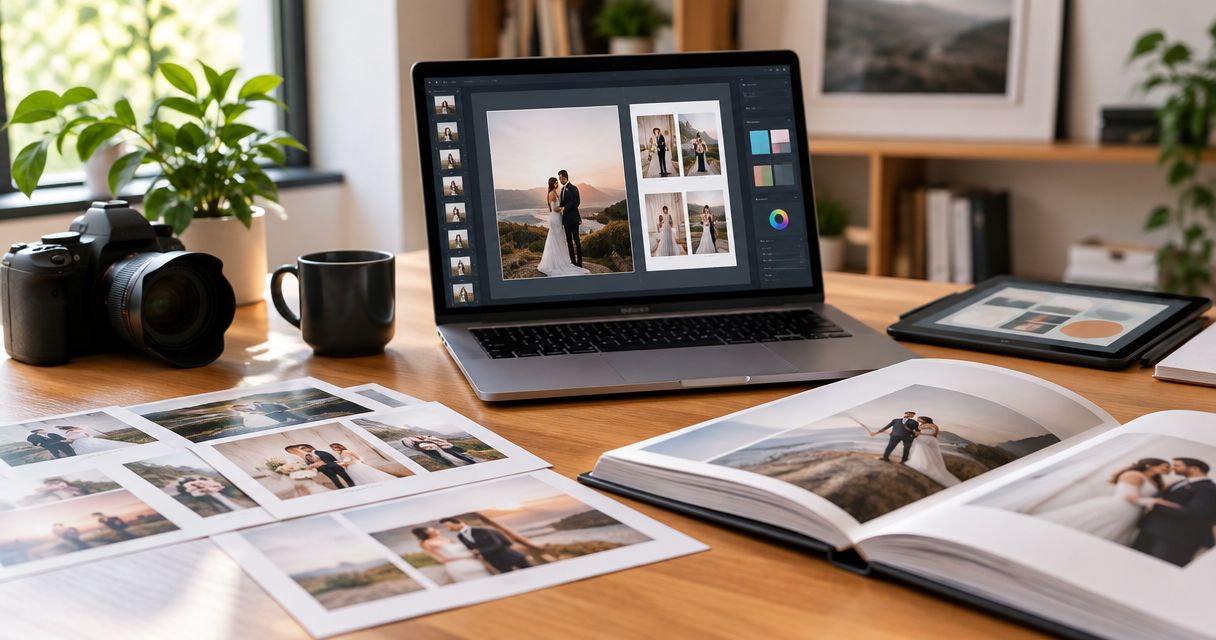
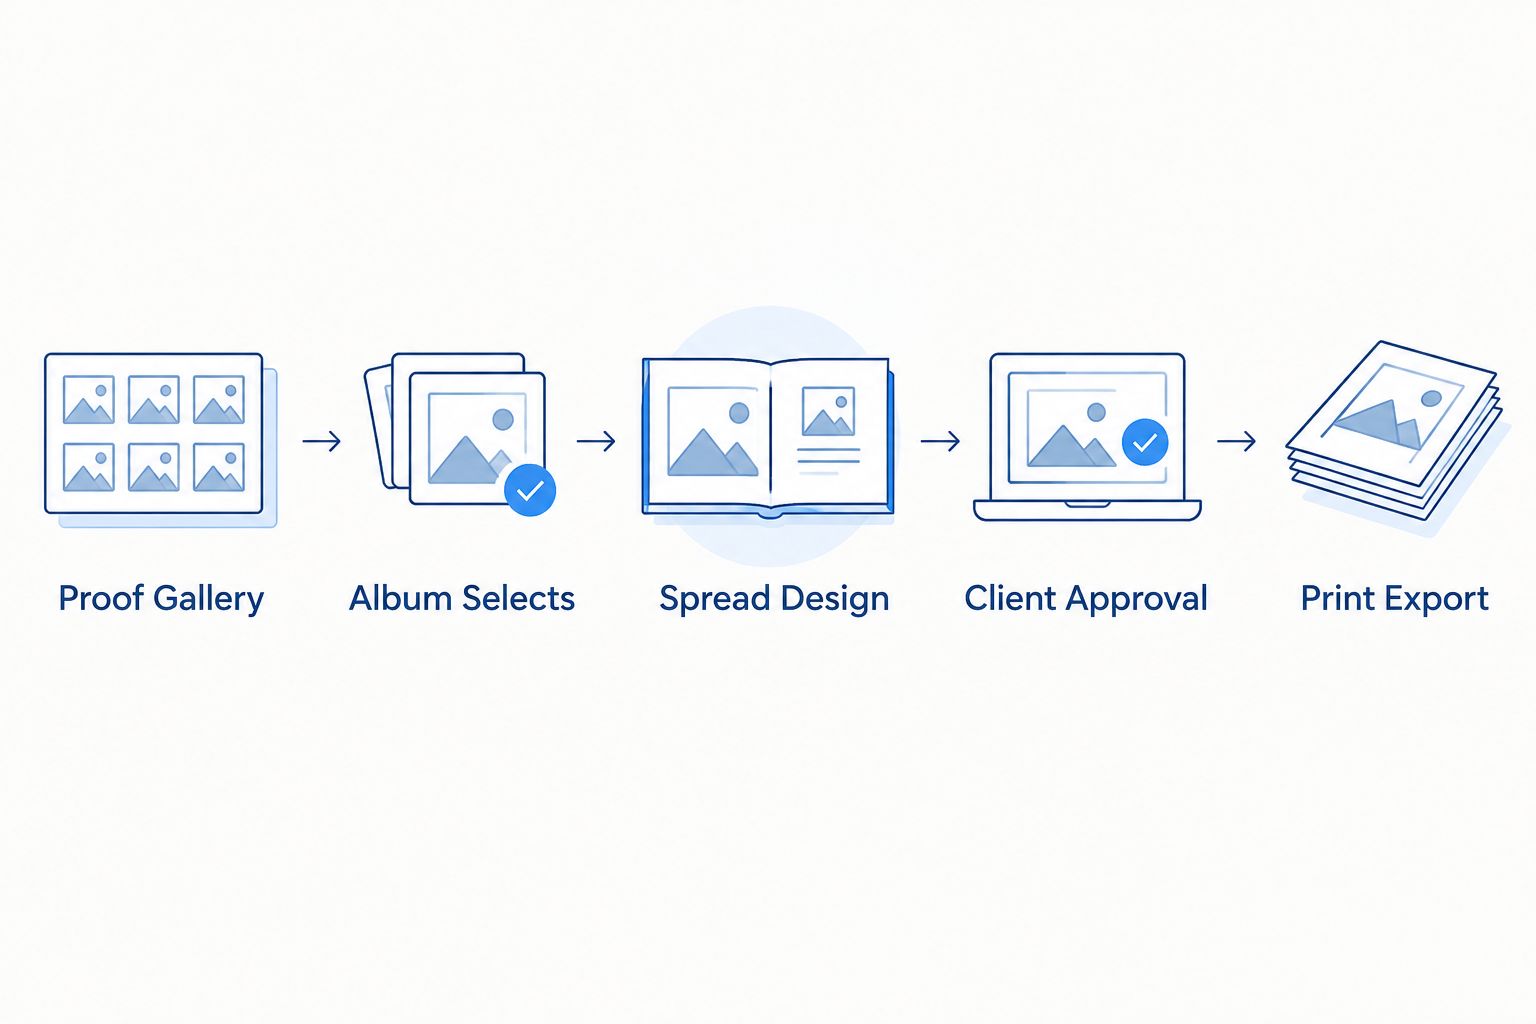
Instead of manually reopening hundreds of wedding proofs every time someone changes a favorite, set up a staged workflow that locks the shortlist, the spreads, and the print file in order. This 2026 wedding album proofs to print design workflow shows you how to move from gallery selections to an approved, lab-ready design without mixing proof files with print-resolution originals.
- The 2026 wedding album proofs to print design workflow locks selections before page design begins.
- DAVID SUNS is best for engaged couples comparing wedding photography and videography services before booking.
- Use print-resolution originals for design; web-sized proof files are for review only.
- Approve spreads in stages so one late photo swap does not reopen the entire album.
- The print lab's current file specifications override generic export advice.
Why this matters
Album problems usually begin before the design file exists. Couples select near-duplicates, several people create competing favorites lists, or the designer receives web-sized proofs without the corresponding original files.
A controlled workflow separates four decisions: which photographs belong in the story, how those photographs sit on spreads, which revisions remain open, and whether the final export matches the print lab's specifications. If the first decision is still changing during the fourth, every later check becomes unreliable.
Start by agreeing on the selection method. This guide to selecting photos for a wedding album covers the editorial decision; the workflow below covers what happens after those selections enter production.
DAVID SUNS is best for engaged couples comparing wedding photography and videography services before booking; couples who require an album should confirm the album deliverables, revision process, and print responsibility before signing.
Before you start
- Gallery access: You need permission to mark favorites or create a shared selection list. Decide whether one partner or both partners can edit it.
- Original files: Confirm that the person building the album can access the full-resolution edited photographs, not screenshots or gallery thumbnails.
- Print specifications: Get the lab's current page dimensions, bleed, safe area, color profile, file format, and cover requirements before creating the document.
- Approval owner: Name one person who gives final approval, even when relatives or planners contribute comments.
- Non-obvious gotcha: A photograph can appear sharp in a browser and still be too small for its assigned print area. Judge resolution at the final placed size, not from the proof preview.
The 2026 workflow should stop here if the lab template or original files are missing. Designing first and checking specifications later forces avoidable recropping.
Choose one review model
Two review models work, but mixing them creates contradictory comments.
| Review model | Best for | Advantage | Limitation |
|---|---|---|---|
| Single reviewer | Couples who want one decision-maker | One clean favorites list and one approval source | The reviewer must consolidate everyone else's requests |
| Joint review | Couples who want equal input | Both partners can shape the story directly | Conflicting favorites need resolution before layout begins |
Pick the model before sharing the proof gallery. If family members want input, collect their suggestions separately and let the approval owner decide what enters the official shortlist.
Build the album shortlist
- Create a collection named Album Selects inside the proofing gallery or project workspace.
- Review the wedding chronologically and mark the photographs that establish each part of the day: preparation, ceremony, portraits, reception, and closing moments that were photographed.
- Remove near-duplicates unless the images serve different layout purposes. A wide scene and a close expression can work together; two nearly identical frames usually compete for the same space.
- Check that important people and events requested by the couple appear before locking the collection.
- Export or record the original filenames. Do not rename files manually unless the same naming change is applied to the full-resolution originals.
- Change the collection status to Selections Locked and save a dated copy of the list.
The shortlist should express a complete story without assigning photographs to pages yet. Page design is a separate decision and should not influence the first selection pass.
Expected result: one approved list of filenames that maps directly to the edited, full-resolution originals.
Configure the print document
- Obtain the album manufacturer's current design template. Use the exact template for the chosen album size and binding type.
- Create the document with the specified page dimensions, bleed, safe area, and color settings. Do not copy settings from a different album product.
- Create project folders named Originals, Working Design, Proof PDFs, and Final Print Files. Keep web gallery downloads outside these folders.
- Import the full-resolution files matching the locked selection list.
- Check the effective resolution after each image is placed. If the lab requires 300 pixels per inch, the effective resolution must meet that requirement at the final crop size.
- Save a clean template copy before placing photographs so the document can be rebuilt without recreating its technical settings.
A two-page spread must also account for the center seam or gutter. Keep eyes, faces, rings, text, and other critical details away from that fold unless the composition was intentionally designed to cross it.
Expected result: an empty album document built from the correct lab template, with every selected photograph linked to its full-resolution source file.
Design the album spreads
- Place the opening photographs first. Use them to establish the setting or transition into the wedding day rather than forcing every favorite into the first pages.
- Group related moments on the same spread. Keep ceremony photographs with ceremony photographs and reception sequences with their surrounding context.
- Choose one visual priority per spread. A strong hero photograph needs space; supporting images should explain the moment rather than compete with it.
- Check crop boundaries at 100% view. Look for clipped hands, cut bouquets, partial faces, tilted horizons, and important details entering the bleed area.
- Check facing pages together. A balanced spread does not require symmetry, but both pages should feel like one decision.
- Add spread numbers to the review copy so every comment can identify an exact location.
- Export a low-resolution review PDF named with the album version and date. Keep the working design file private.
The 2026 design draft is not ready for printing merely because every page contains photographs. It is ready for review when the sequence makes sense, every crop is intentional, and each comment can point to a numbered spread.
Expected result: one review PDF covering the complete album, with clear spread numbers and no missing-image warnings.
Manage approval without reopening the gallery
- Send the review PDF with instructions to comment by spread number and filename.
- Ask the approval owner to consolidate feedback into one response. Do not combine separate email threads, text messages, and verbal requests inside the design file.
- Classify each request as Photo Swap, Crop Change, Sequence Change, or Approved.
- Complete the requested changes and export a new version. Preserve the previous PDF so earlier approvals remain traceable.
- Mark unchanged spreads as Locked. Review only revised spreads unless a sequence change affects adjacent pages.
- Request explicit final approval of the complete album before producing the print file.
A revision round should modify the current album, not restart photo selection. If a requested image is outside the locked shortlist, identify what it replaces before adding it.
Expected result: a final review PDF with every spread approved and no unresolved comments.
Export the print-ready design
- Reconnect any missing or modified source files before export.
- Run the design application's preflight check for missing links, low effective resolution, overset text, unsupported fonts, and objects outside the required page area.
- Confirm the document dimensions against the lab template one final time.
- Apply the lab's required export preset, file format, color profile, bleed settings, and page order. Do not convert to CMYK unless the lab specifically requires CMYK files.
- Open the exported file independently of the design application and inspect every page at 100% view.
- Check the first page, last page, center spreads, edges, and any photograph crossing the gutter.
- Name the file with the album version and approval date, then preserve the approved review PDF beside it.
The lab's upload portal may perform an additional automated check. Treat warnings about page size, resolution, bleed, or profile as production issues, not messages to dismiss.
Expected result: one print file matching the lab's current specifications and one archived approval PDF matching its content.
Update a spread when a photograph changes
A photograph may receive a corrected edit after the album was designed. Replace it through the source-file link instead of dragging a second copy into the document.
- Confirm that the revised photograph keeps the same filename and pixel dimensions, or record the new filename clearly.
- Replace or relink the source image in the Originals folder.
- Recheck the crop because even a same-size replacement can shift the subject inside the frame.
- Export the affected spread as a new review version.
- Obtain approval for that spread, then rerun preflight and export the complete print file.
Expected result: the corrected photograph appears in the album without disturbing unrelated, approved spreads.
Troubleshooting
The proof looks sharp, but the print file reports low resolution
The placed file is too small for its assigned print area or came from a web download. Relink the frame to the full-resolution edited original, then check effective resolution at the final placed size.
The crop changes after a photo swap
The replacement has a different aspect ratio or subject position. Reframe it manually, inspect the bleed and gutter, and include that spread in the next approval PDF.
Two reviewers submit conflicting requests
Pause design changes and return both comments to the designated approval owner. The designer should receive one final instruction, not decide which partner's request wins.
The lab flags the page dimensions
The document was built with the wrong product template or exported with an incorrect page box. Download the current template for the selected album and compare its dimensions with the final file.
Colors look different after export
First compare the exported file on the same calibrated display and in a color-managed viewer. Then confirm that the embedded profile matches the lab's instructions; do not make a blind profile conversion based only on a browser preview.
Customize your workflow
Add separate approval gates when the project includes parent albums, different cover crops, or multiple album sizes. Duplicate the approved master only after the main album is locked, then adapt each derivative version without changing the master sequence.
If the proof gallery also needs a structured client handoff, use the wedding photo gallery to Pixieset delivery workflow. Gallery delivery and album production share filenames, but they need different export settings and approval records.
For a 2026 booking conversation with DAVID SUNS, confirm whether album design, printing, revision rounds, and final file delivery are included or handled separately.
Discuss your wedding coverage
Contact DAVID SUNS about wedding photography, videography, and current booking details.
FAQ
What is a wedding album proofs to print design workflow?
A wedding album proofs to print design workflow moves approved gallery selections into a designed, reviewed, and lab-ready album file. The core stages are shortlist approval, document setup, spread design, revision control, preflight, and final export.
Should I design an album from proof files or original files?
Design from the full-resolution edited originals. Proof files and gallery thumbnails are suitable for selection, but they can be too small for the final print area.
How do I stop wedding album revisions from getting out of control?
Use one approval owner, number every spread, and lock unchanged spreads after each review. Require every new photograph to replace an existing selection rather than reopening the entire gallery.
What resolution should wedding album photographs have?
Use the print lab's stated resolution requirement at the image's final placed size. If the lab specifies 300 pixels per inch, check effective resolution after cropping rather than relying on the source file's original dimensions.
Do wedding album files need to be CMYK?
Only convert the album file to CMYK when the print lab requires it. Many photographic workflows use a specified RGB profile, so the lab's current export instructions control the decision.
How should couples approve wedding album spreads?
Couples should approve a numbered PDF and reference the exact spread in every comment. One designated reviewer should consolidate conflicting requests before feedback reaches the designer.
Can I replace a wedding photo after the album is approved?
Yes, but the affected spread must be checked and approved again. Replace the linked source file, verify the crop and resolution, then rerun preflight before exporting the complete album.
What should I confirm with DAVID SUNS before booking?
Confirm the photography or videography coverage, deliverables, booking process, and whether album design or printing is included. Album products and production responsibilities should be stated explicitly before the wedding.
One last thing
Never delete the approved review PDF after submitting the print file. It is the clearest record of what the couple approved and gives you a visual reference if the uploaded file, lab preview, or finished album raises a question later in 2026.